7 Brilliant Rubber Band Uses that will Make Your DIY A Doddle
January 14, 2017 | DIY & Home Improvement | No comments
Ping into DIY action! It’s not a stretch to say that these rubber band tips will help you organise your life and could change the way you fix things around your home forever.

Tell Batteries Apart
Your remote control batteries have run out. You delve into the bottom of your DIY drawer and insert some replacements, only to find that these batteries are dead too. Sound familiar? Wrapping rubber bands around old batteries will let you tell them apart in the future, until you get around to either charging or recycling them.

Organise Cables
One for the super organised amongst you. If your cables are too long and they’re always getting tangled, there’s an easy solution. Wrap cables up in rubber bands to keep them tidy. Top tip for telling plugs apart too, if you put a sticky label on each plug and write down what it’s for you’ll never waste time plugging in the wrong thing again.

Unscrew Screws
If a screw has been screwed in a little too vigorously, the metal groves on the head may get worn. Screws with stripped-down heads will be hard to loosen in the future. Enter the rubber band! Place a rubber band between the screw head and your screwdriver to make the damaged screw easier to remove.

Keep Pliers Closed
Need an extra pair of hands whilst DIYing? Wrap rubber bands around the handles of a pair of pliers and it will keep them firmly closed without you having to hold them. You can then use your extra-grippy pliers to hold a wire in place whilst you solder it or keep nails or screws safe until you need to use them.

Keep Paint Tins Clean
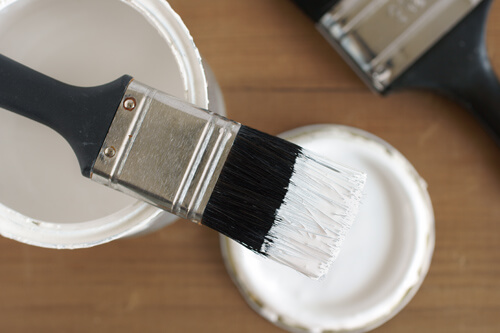
Painting is a messy business, but a simple rubber band can make the job easier. Say goodbye to stuck paint lids that you have to jimmy off with a screwdriver. Rather than wiping excess paint off your brush onto the side of the tin, simply wrap an elastic band around your open tin and you can wipe your brush against that instead.

Fixing Leaking Hoses
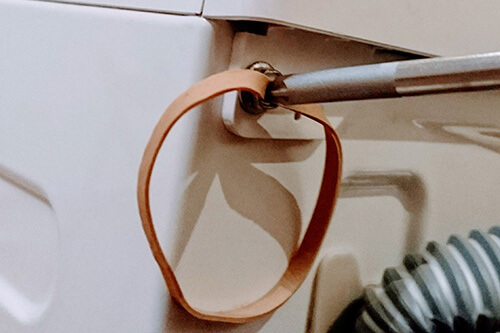
Leaky hoses are no match for rubber bands and a small piece of rubber cut out of a rubber glove. Just place the glove over the leaky patch and wrap it up tight with plenty of bands. Bear in mind this is a quick temporary fix and you’ll probably need to buy a new hose eventually, but your bodge job should buy you plenty of time.

Securing Phones
Viewers of our YouTube channel and those that turn to YouTube to help them with their fixes will know the pain of trying to prop up a phone to play a video whilst DIYing. The solution? Rubber bands! Secure your phone to other objects and give it the friction to stop it from slipping over with a couple of bands wrapped around it.
Homemade Rubber Band Fridge
If by any chance you’re still unconvinced about how awesome elastic bands are then all we have to say is watch this video from Applied Science’s YouTube channel. No the video title is not a mistake; they’ve used the heating and cooling science behind stretching rubber bands to make a fridge!
How to Keep Your Rubber Bands Fresh
Over time you’ll probably find your elastic bands lose their stretchiness. But you can keep them like new for longer with a little help from your freezer!
- Step One: Keep your rubber bands in a sealed container like a jar.
- Step Two: Store them in the freezer.
That’s it! How does it work? Heat causes rubber bands to become brittle, hard and snap more easily, so keeping them in a cold place preserves them.
Want more hacks? Find out how nail varnish can help you DIY and some unusual but brilliant ways to use your hairdryer.
Tags: DIY Tips, Rubber Band Uses

