The complete stress-free guide to fixing your household appliances
April 4, 2022 | Appliance Advice | Repair, Re-use & Recycle | No comments
Diagnosing and fixing your home appliance’s faults can be quite a stressful undertaking if you aren’t sure where to begin. Fortunately, there are plenty of steps you can take to make fixing your appliances easier, even if your DIY skills aren’t the sharpest!
So if repairs tend to make your stress levels soar, don’t worry. We’ve put together this guide to help you be more prepared for home repairs, taking away the stress and the hassle!

Step 1
Check the manual
A blinking red light on your fridge could be nothing more serious than a simple power cut earlier in the day, and the solution to your appliance woes could be as simple as turning it off and on again . That, or you may have to replace a faulty part. There’s only one way to know for sure; check the manual.
Lost your manual? If we have it in our database, you can download a copy for free!

Step 2
Seek out the symptoms
If you’re not sure what’s the matter with your appliance, sometimes keeping a good eye out is all you need to solve the issue. You can then look up any potential symptoms of the fault online to find out exactly what the problem might be.
If you’re ever feeling baffled by your appliance’s faults and symptoms, head over to our advice centre where we can help you get to the bottom of the problem!
Step 3
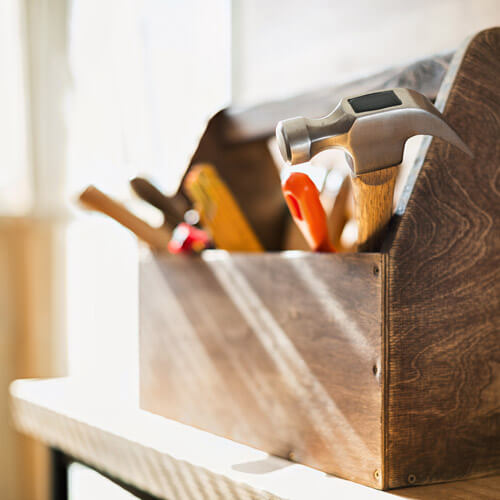
Get your tools at the ready
There’s nothing more frustrating than getting halfway through a job before realising you don’t have the right screwdriver to finish up. Check what tools you’ll need for a repair before you begin, get hold of those tools in advance, and you won’t have to stop and start!

Step 4
Watch videos to help you
Are you sure you have everything you need for a repair? Do you know how to go about completing your fix? If you’re not 100% sure how to repair a broken appliance, there’s no end to the handy videos out there to guide you. Our YouTube channel alone has over 700 videos to educate you and guide you through fixes step by step.

Step 5
Get a second pair of hands
Many hands make light work. If you need to move a heavy appliance or have a certain part supported whilst you screw it in, don’t try to be a lone wolf and complete the task single-handed. Get help where you need it and you’ll be cutting your repair-related stress in half!
Step 6
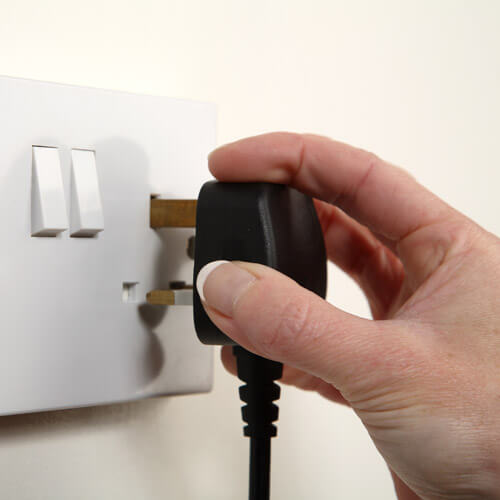
Stay safe
Your hair standing on end after an electric shock isn’t a scenario that scores high on the ‘stress-free’ scale. Unplug and turn off your appliance when you’re working on it, use protective gear as needs be and always point tools away from yourself in order to stay safe. You won’t be much use at mending your appliances if you keep having to patch yourself up!

Step 7
Take a break!
As with any task, taking regular breaks keeps your stress levels low and helps you do a better job. Yes, that’s right; enjoying a regular cuppa is a good idea when DIYing, and don’t let anyone tell you anything different! Take the time you need to recoup energy and motivation and you’ll find completing your fixes easier in the long run.

Step 8
Avoid distractions
Keeping pets and children away from your DIY area is not only essential for safety, it also lets you keep your full attention for the job at hand. By extension, this means there’s less chance of you making mistakes. Having said that, a few minor mistakes are probably inevitable, which leads us to the next step…

Step 9
Accept that mistakes will happen
Practice makes perfect, so if you’re undertaking an appliance repair that you’ve never tried before, you might have to go back and correct some errors. Let’s face it, we’re all only human, and even professional repairers get it wrong sometimes. So next time a fix starts going sour and you’re getting frustrated, take a deep breath, step away and remind yourself that even the best of us make mistakes from time to time!

Step 10
Know your make and model number
Last, but certainly not least, make sure you know your appliance’s details. Whatever appliance you’re fixing, knowing its make and model number is vital for ensuring you order the correct replacement parts to get it working again. Fortunately, finding these details is usually quite simple. Below is a tutorial video to give you an example, but make sure to check out our full YouTube playlist on finding appliance model numbers so you can be in the know!
Hopefully, with our tips and guidance, you can now feel less daunted when it comes to repairing your home appliances. If you’re still not feeling confident, however, take a look at how much money our customers have saved by persevering and carrying out their own repairs! If there’s any other way to reduce repair-related stress, it’s seeing how much your bank account can benefit from a little DIY!
Tags: DIY Tips, Stress Free DIY