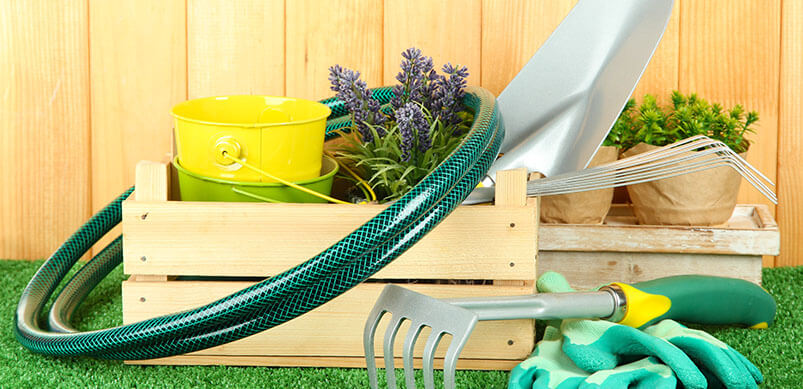
The Ultimate Guide to Cleaning Your Garden Appliances
April 6, 2018 | Gardening Tips | No comments
It’s been a long time coming but spring is finally here and it’s time to start prepping your garden for those long summer evenings!
But, before you start mowing the lawn and trimming the hedges, take a look at your garden appliances. If your tools aren’t clean, it will minimise their performance and prevent you from getting the garden you’ve been longing for all winter!
Here are some tips on how to clean your garden appliances and keep them lasting for longer.

Lawn Mower
Your mower is about to become your trusty companion in keeping your lawn in top condition. Give it some TLC and ensure you clean it out thoroughly to avoid unwanted breakdowns and faults.
Step 1: Safety first! Ensure your mower is switched off and unplugged at the mains and wear safety goggles whilst cleaning the blades.
Step 2: Remove dried on grass and dirt. It’s probably been a while since you’ve used your mower and there could still be traces of dirt from last summer. Use a stiff brush to scrub both the inside and outside of the mower to remove lodged grass cutting and dirt.
Step 3: Wearing your safety goggles, use a wooden spoon or spatula to scrape the underside of the mower, blade and surrounding area.
Step 4: The finishing touches. When all the dirt has been removed, wipe your mower with a damp cloth to restore its colour and shine. Be sure to avoid the motor and switches whilst wiping.
For more tips see our how to clean your lawnmower guide.
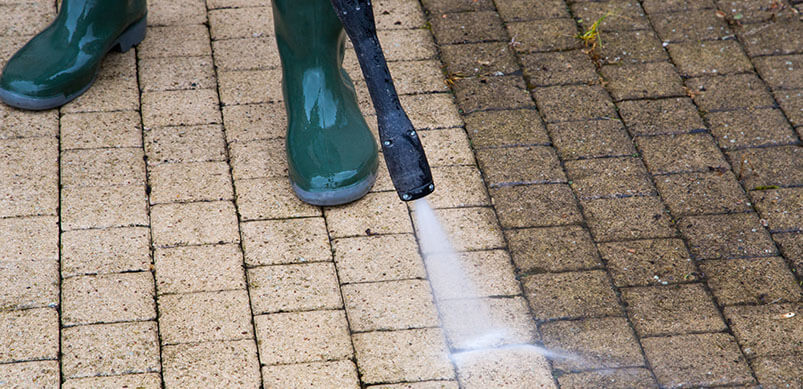
Pressure Washer
To ensure your pressure washer provides outstanding results time and time again, you’ll need to give it a good clean! Keeping it in good condition will ensure your garden is cleaner for longer!
Step 1: Clean the nozzle and filter. Just like your vacuum cleaner, your pressure washer will need its filter cleared regularly to keep it running efficiently. For the nozzle, flush the washer through with clean water and dislodge any build-up by carefully inserting a fine needle inside. Be careful not to widen the hole with the needle.
Step 2: Remove the inlet filter. Detach the cold water hose and unscrew the inlet nozzle and carefully remove the inlet filter with a pair of long-nosed pliers.
Step 3: Wash away the dirt. With the filter removed you can place your pressure washer under running water and clear any dirt or debris. For suborn areas, use an old toothbrush for removal.
Step 4: Refit the filter. Once cleaned, reinsert the filter and your pressure washer will be ready for action!
For more tips see our how to clean a pressure washer guide.
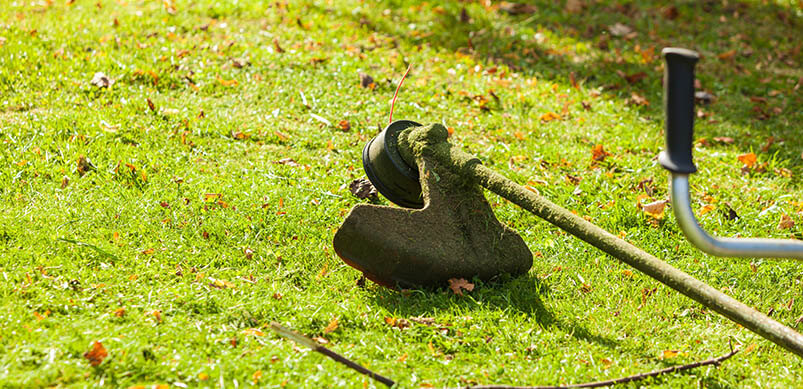
Grass Trimmer
Your grass trimmer is likely to gather a build-up of dirt and debris. To keep it performing at its best, follow these steps and give it the ultimate clean.
Step 1: Safety Check! Again ensure that your grass trimmer is switched off and unplugged before you begin cleaning.
Step 2: Give it a wipe. Using a damp cloth, start by wiping the trimmers casing, avoiding the switch and motor areas.
Step 3: Clear the vents. With a soft brush or vacuum cleaner, clear the blockages around the ventilation slots.
Step 4: Clear the dried-on dirt. To remove the build-up of grass cuttings and dirt, use a stiff brush to clean the line feed area and guard plate.
For more tips see our how to clean your grass trimmer guide.
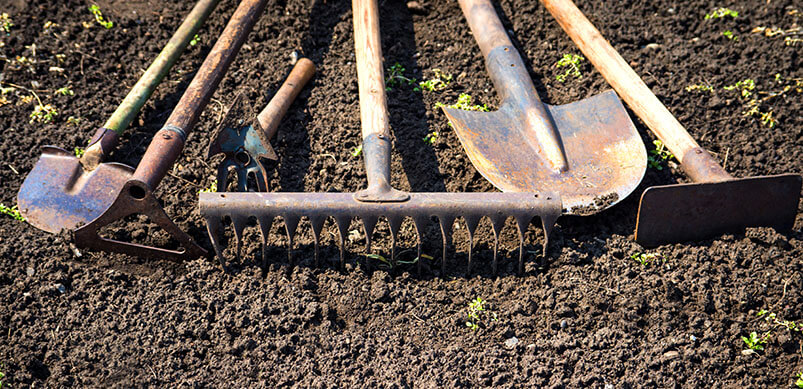
Garden Tools
Now your grass is mowed, your lawn is clean, it’s time to start thinking about clearing the weeds and planting those flowers! To do this, your tools will need to be in top condition. Clean and sharp tools make the job easier and quicker, here’s how to do it.
Step 1: Remove dirt and debris. After each use, hose down your tools with water. Stubborn soil and dirt can be scrubbed away with a hard bristle brush.
Step 2: Keep them sharp. Using a special sharpening tool, ensure your equipment is sharpened to the required blade.
Step 3: Apply oil. To prevent rust and prolong the life of your tools, rub them occasionally with motor oil.
Step 4: Store them right. To avoid rust and dirt, store your tools indoors in a cool, dry environment. They should be placed upright or hanging where air can circulate freely.
There you have it, your ultimate guide to cleaning your garden appliances in just 4 easy steps!
If you find your appliance has developed a fault or needs a part replaced, take a look at our advice centre for handy tips and expert videos to keep your tools lasting for longer.
Happy gardening!
Tags: Cleaning Tips, Garden Appliances